MA320U & MA270U 4K Monitors - Show Your Mac Colors ✨

Learn more

MA320U & MA270U 4K Monitors - Show Your Mac Colors ✨

📣『New』RD320U - 4K Monitor for Programming

Learn more

📣『New』RD320U - 4K Monitor for Programming

Price Qty

How to Connect External Monitors for Mac Devices 101

First time using an external monitor for Mac and don’t know how to start? No worries, to save you time and make your life a whole lot easier, here are useful tips you should know that will make it easier to give your Mac the big screen treatment! Let’s take it step by step.

Identify your Mac device and BenQ monitor model ID and specs

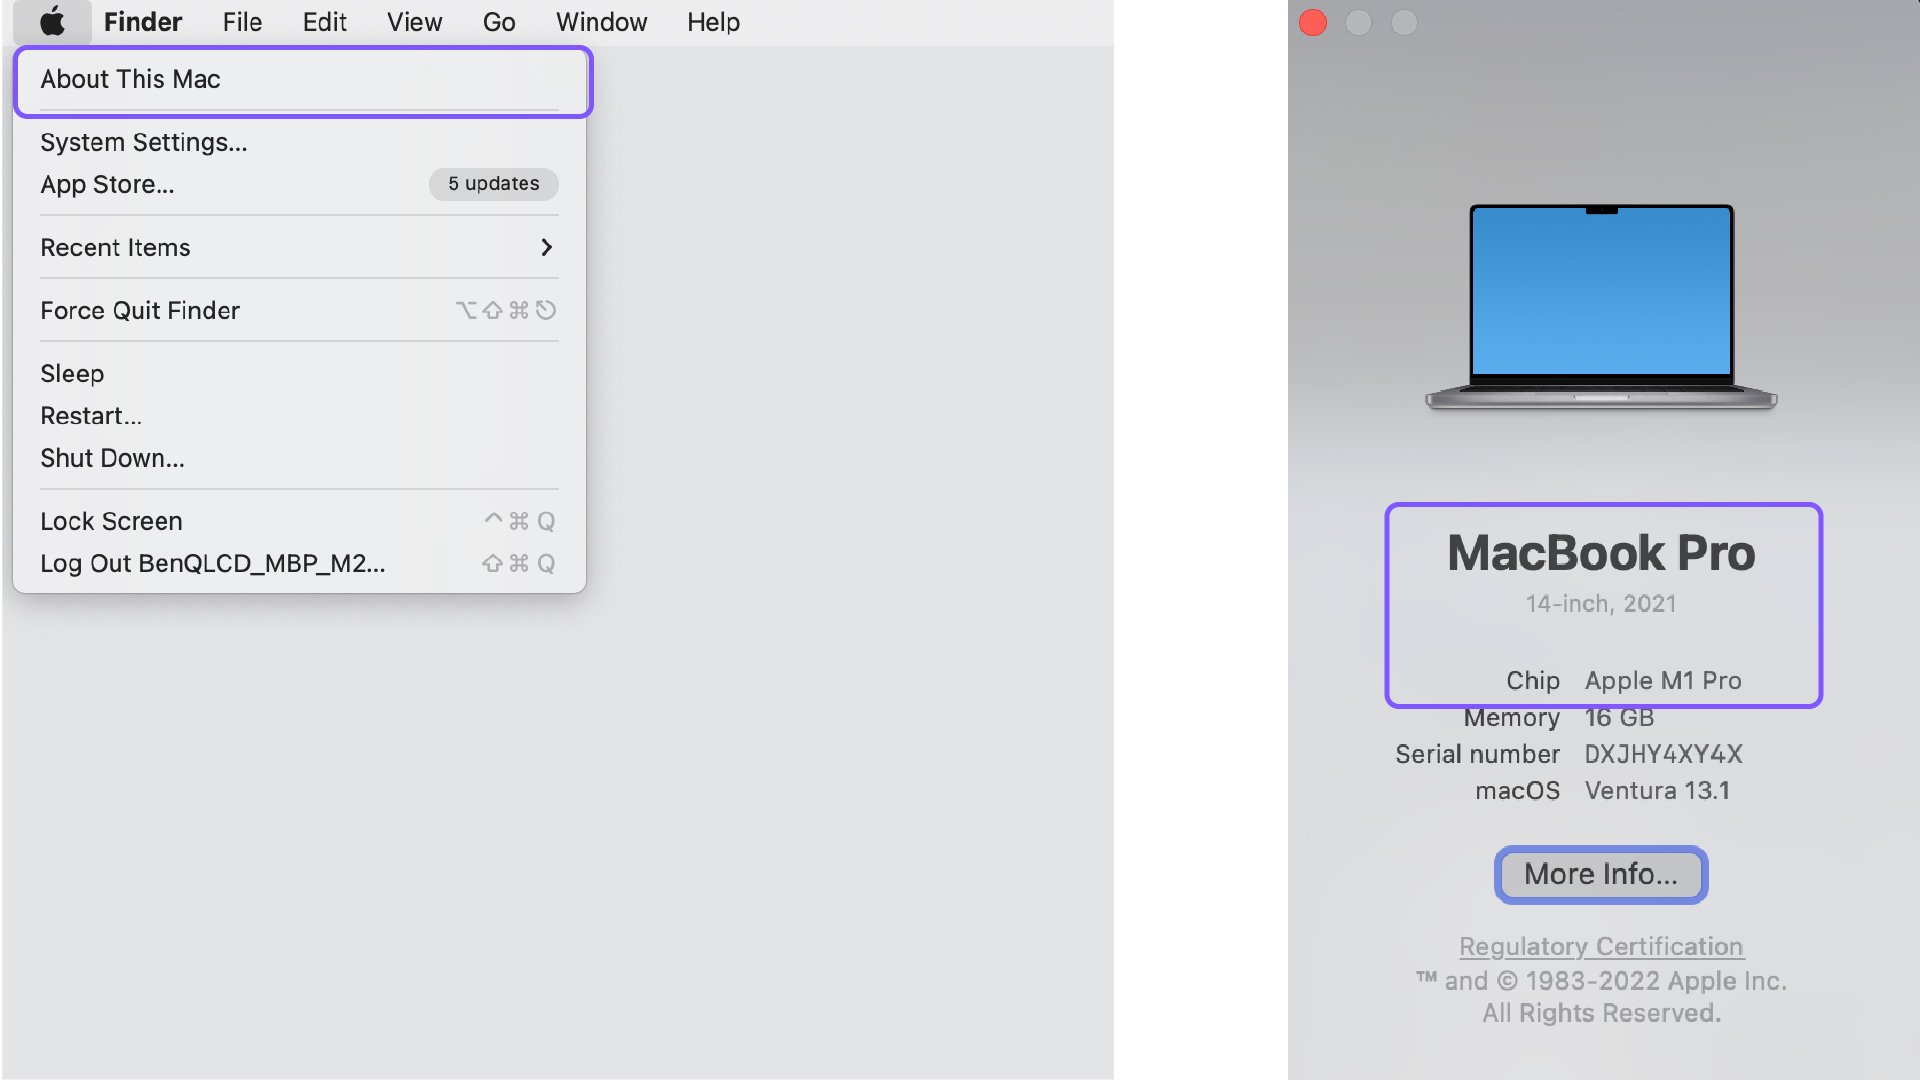
1. Find your “Mac version” first: choose Apple menu > About this Mac > Overview
Resolution PPI scaling

2. Use your verified Mac version and look for available ports from the “Charging and Expansion” section via https://support.apple.com/specs

3. Look at the back of your BenQ monitor and find “model ID” on the label at the lower side of the rear panel.
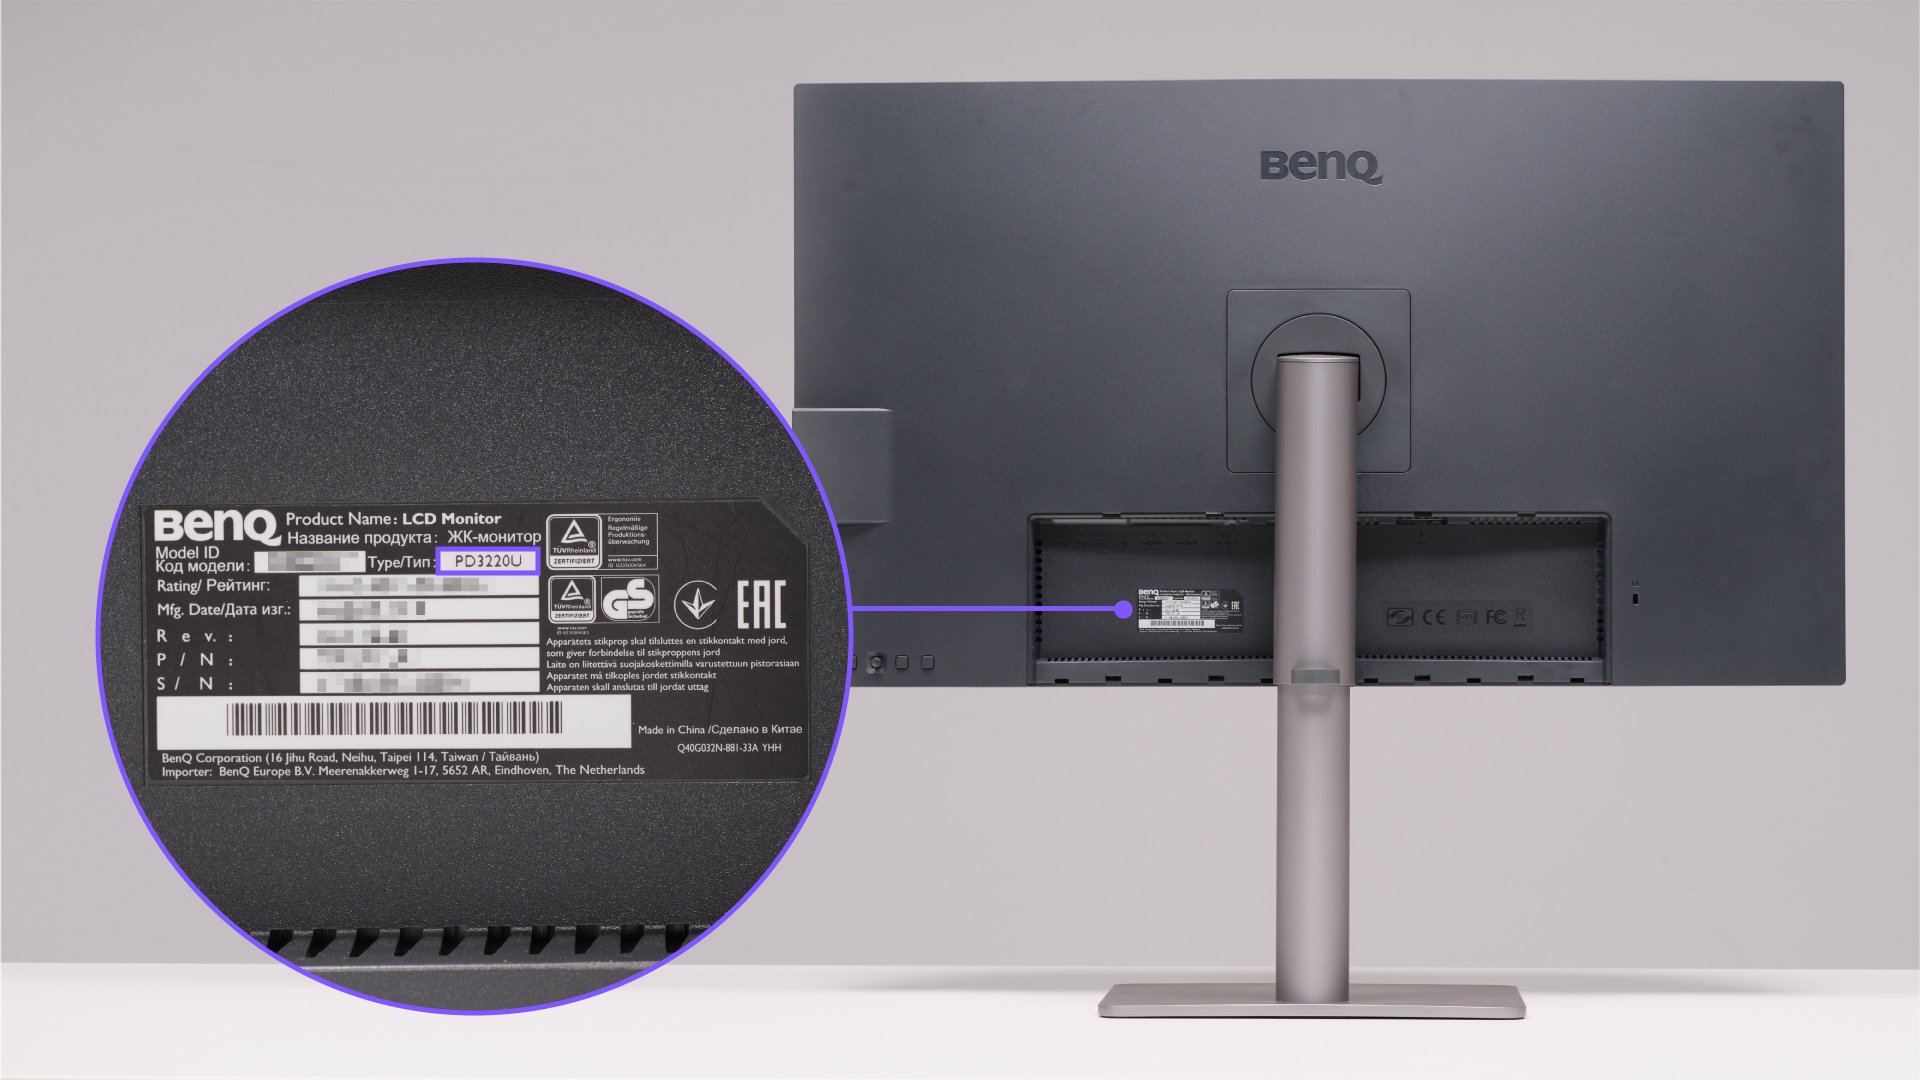
Resolution PPI scaling

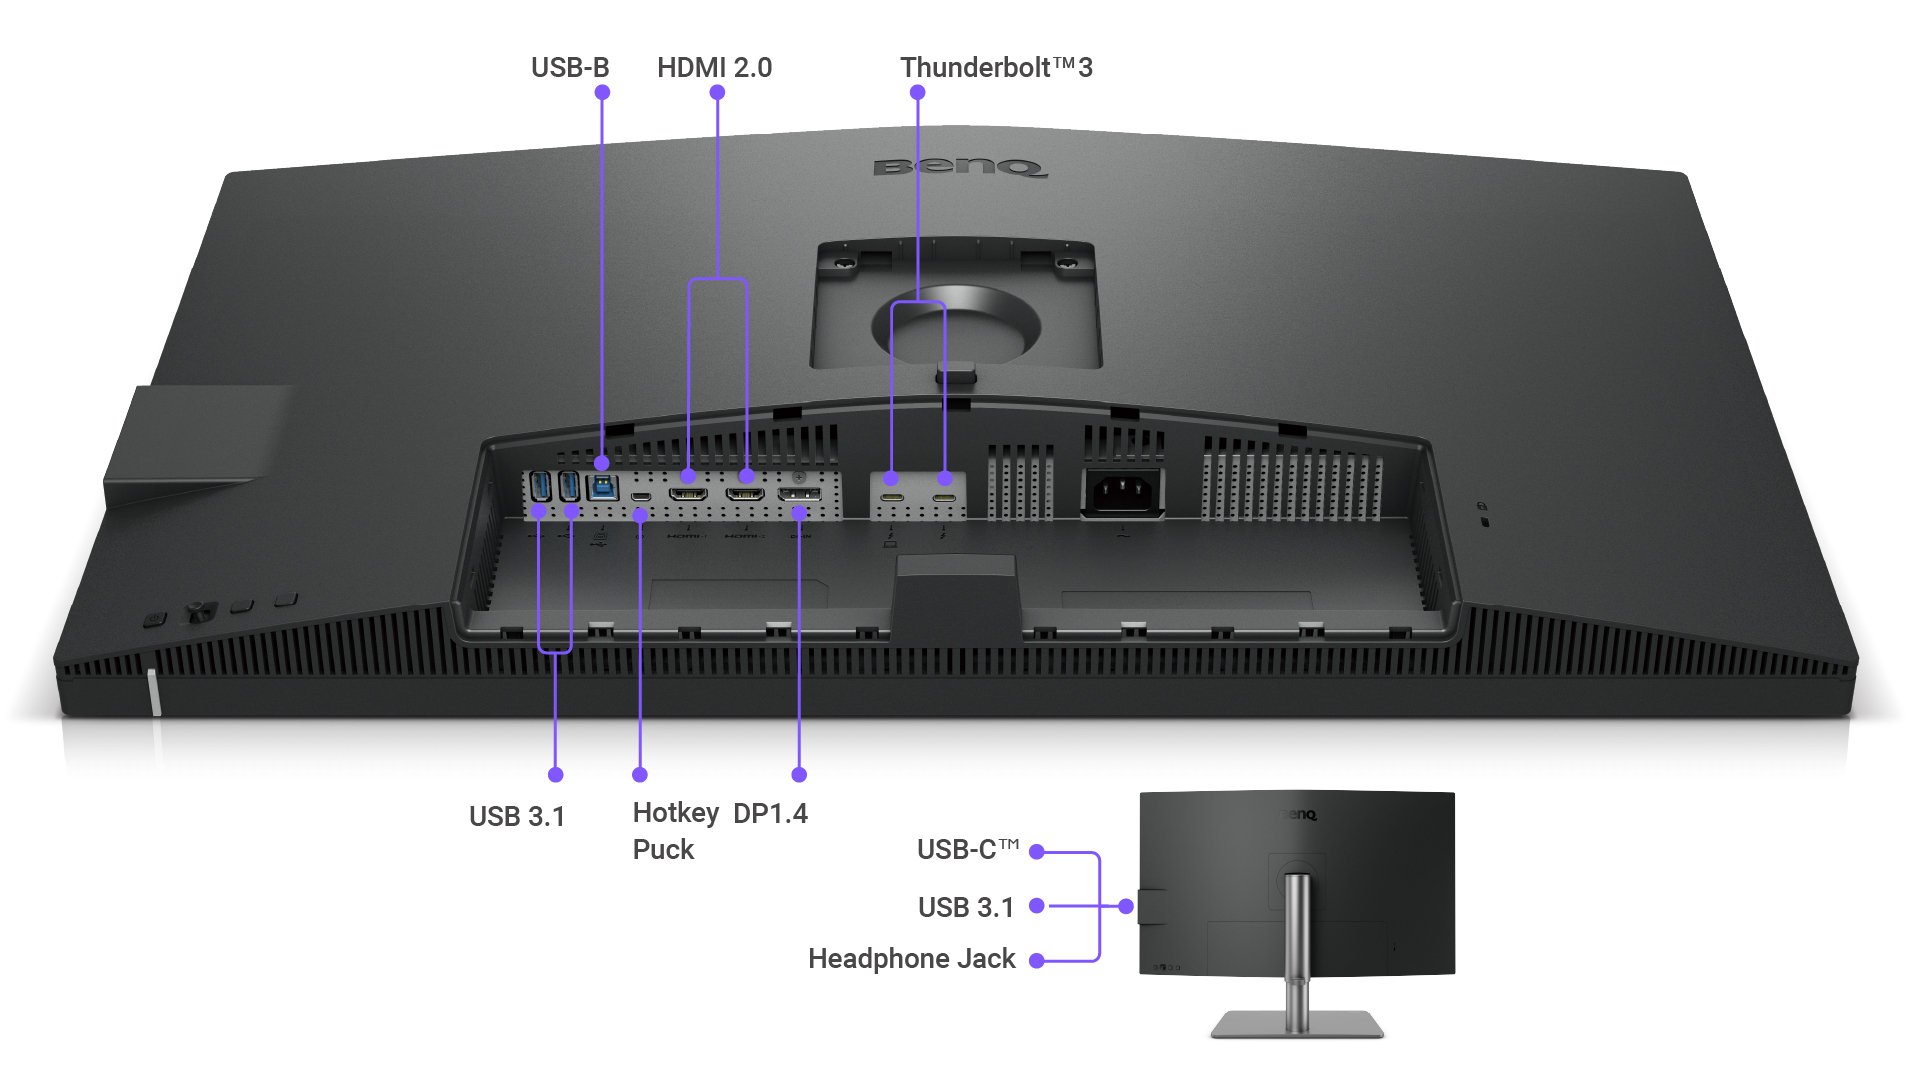
4. Check the product page “buy” and “specs” sections of the specific “BenQ model ID” you are looking for to get an overview of available connectivity ports. https://www.benq.com/en-sg/monitor.html
Ensure the right cables are used to connect your Mac and monitor

1. Locate the right ports on your monitor and use the correct cables to connect your Mac device.

Resolution PPI scaling


2. Connect a Thunderbolt/USB-C display: connect the display to a Thunderbolt/USB-C port on your MacBook Pro, MacBook Air, iMac, Mac mini, Mac Pro, or Mac Studio.  We strongly suggest using this method to get the best performance.


3. Or connect a DisplayPort (DP) display: use a USB-C to Display Port 1.4 cable to connect the display to a Thunderbolt port on your MacBook Pro, MacBook Air, iMac, Mac Mini, Mac Pro, or Mac Studio.

4. Or connect an HDMI display: plug a cable from your monitor’s HDMI in port directly into the HDMI out port on your MacBook Pro, MacBook Air, iMac, Mac mini, Mac Pro, or Mac Studio.


Use an Apple USB-C Digital AV Multiport Adapter to connect the HDMI display to a Thunderbolt / USB4 port on your Mac computer. 


5. Or connect a VGA display: use a USB-C VGA Multiport Adapter to connect the display to a Thunderbolt port on your MacBook Pro or iMac.

*Monitors with Thunderbolt 3/USB-C also work seamlessly with Mac devices that feature Thunderbolt 4.

*Please note that MacBook Air and MacBook Pro USB-C cables may sometimes support power delivery only, depending on cable specifications. To connect the display, you need to use the USB-C/Thunderbolt 4 cables BenQ offers or purchase an Apple Thunderbolt cable at the Apple Store.

Enable a signal on the monitor

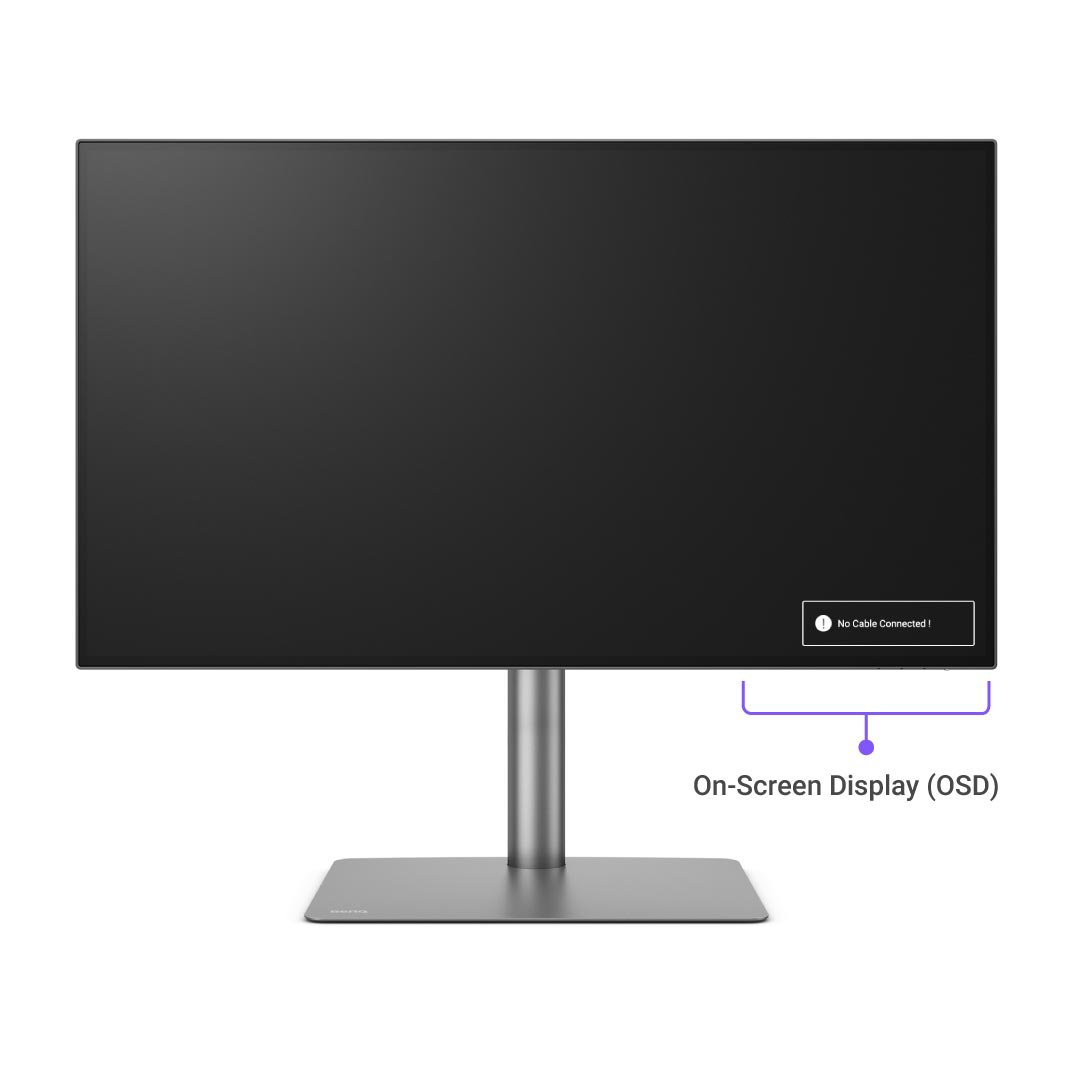
If you encounter “no signal detected” or “no cable connected”, try the following steps:


1. Turn your monitor off and on


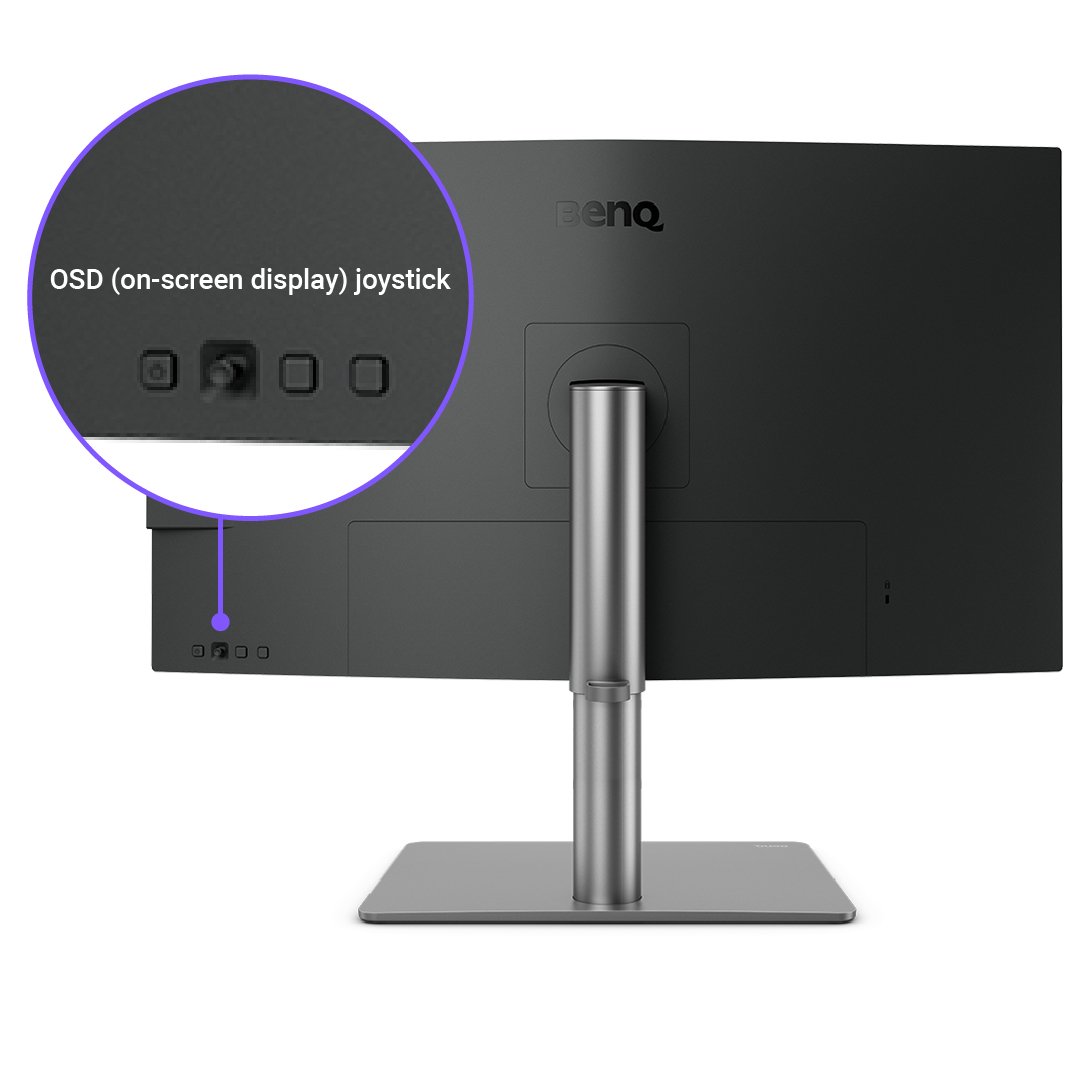
2. Change input source: open your monitor’s OSD (on-screen display) by using its physical controls (either a joystick or a series of buttons) and navigate to Input Settings and select the correct input source option.

Resolution PPI scaling


3. Check whether your cables are connected properly. Make sure the display cable is plugged into the correct port on your Mac and securely seated in the port. 


4. If possible, try using a different type of cable to test. So, if you’ve been using DisplayPort, try using an HDMI cable instead.


5. Please use the cable BenQ provides in the monitor box rather than 3rd party cables or a docking station.


6. If none of the above steps resolve the issue, the monitor needs to be serviced. Please contact our customer service team, as we'd like to offer additional assistance.

Mirror or extend your Mac display


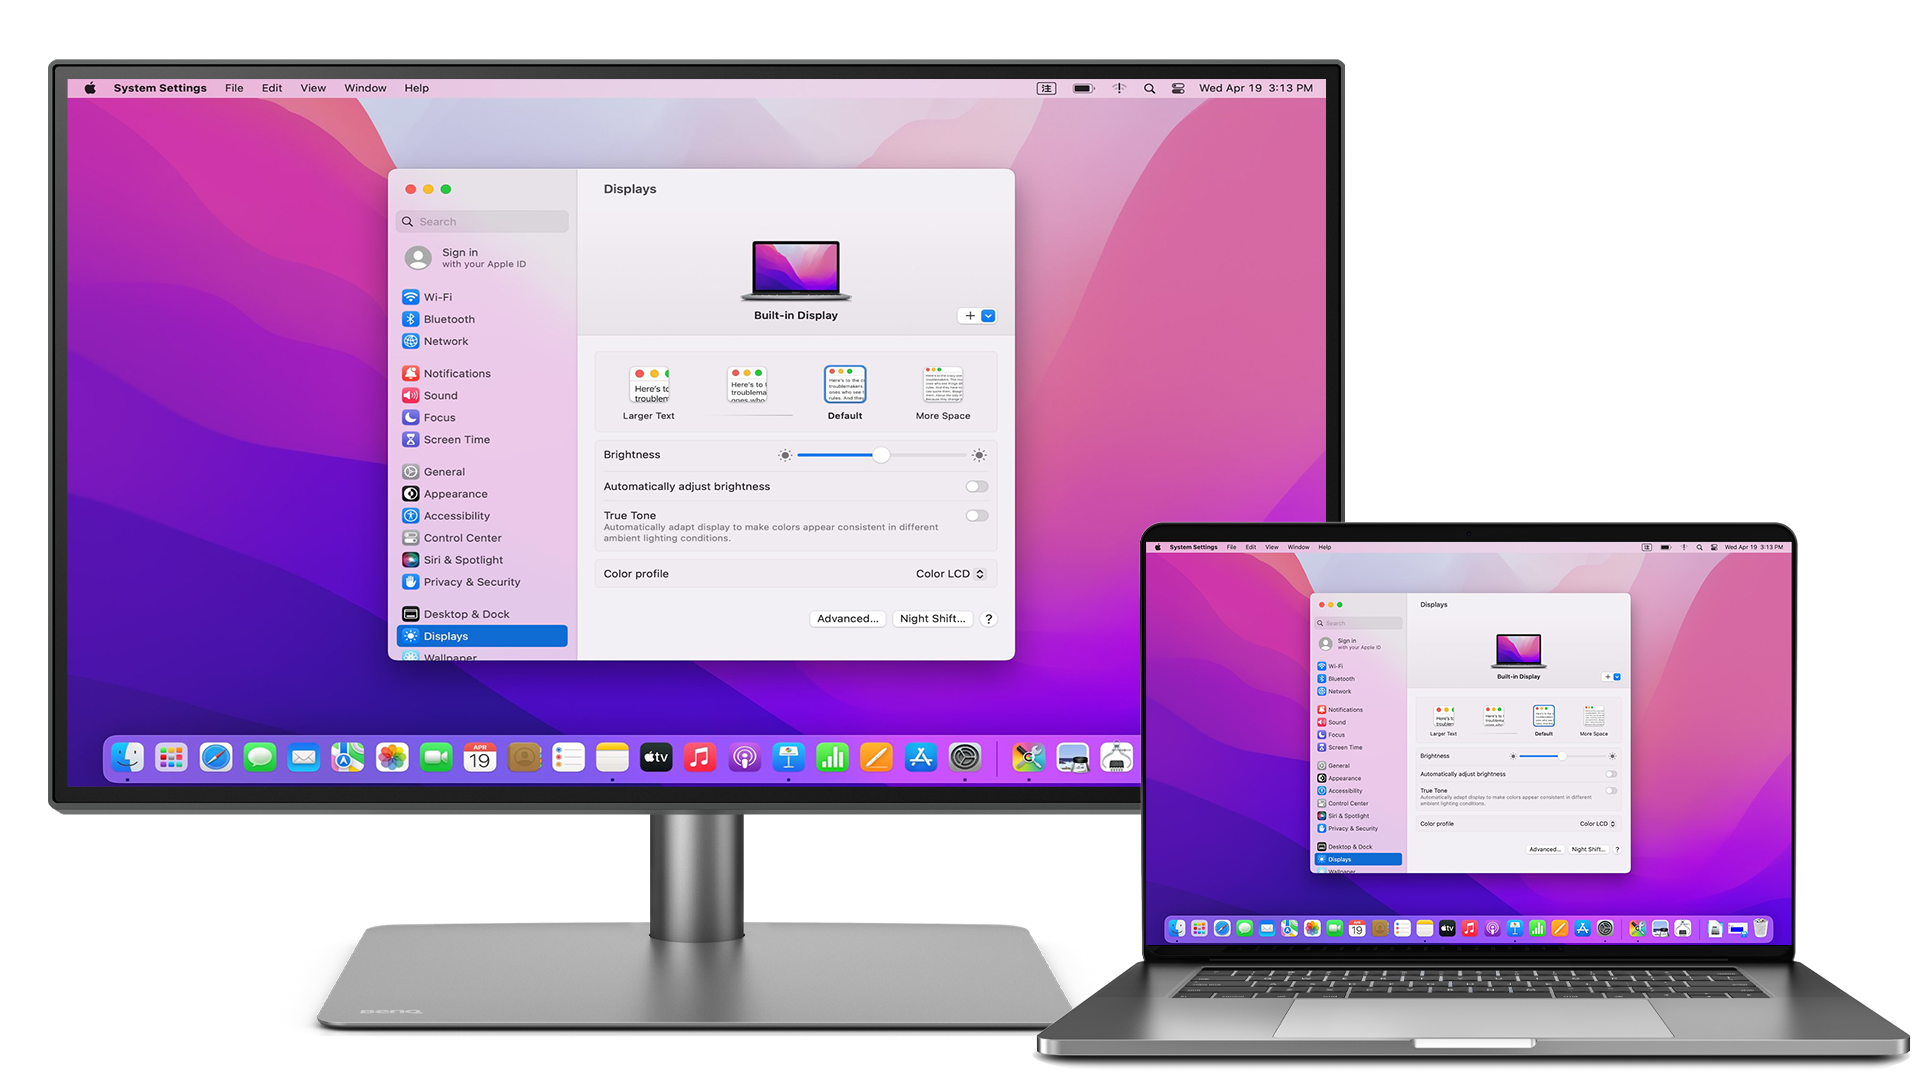
Mirror:  want to design your artwork on your MacBook Pro, but on a larger display with full sized Dock icons? You should “mirror” your Mac display to the external monitor.

Resolution PPI scaling

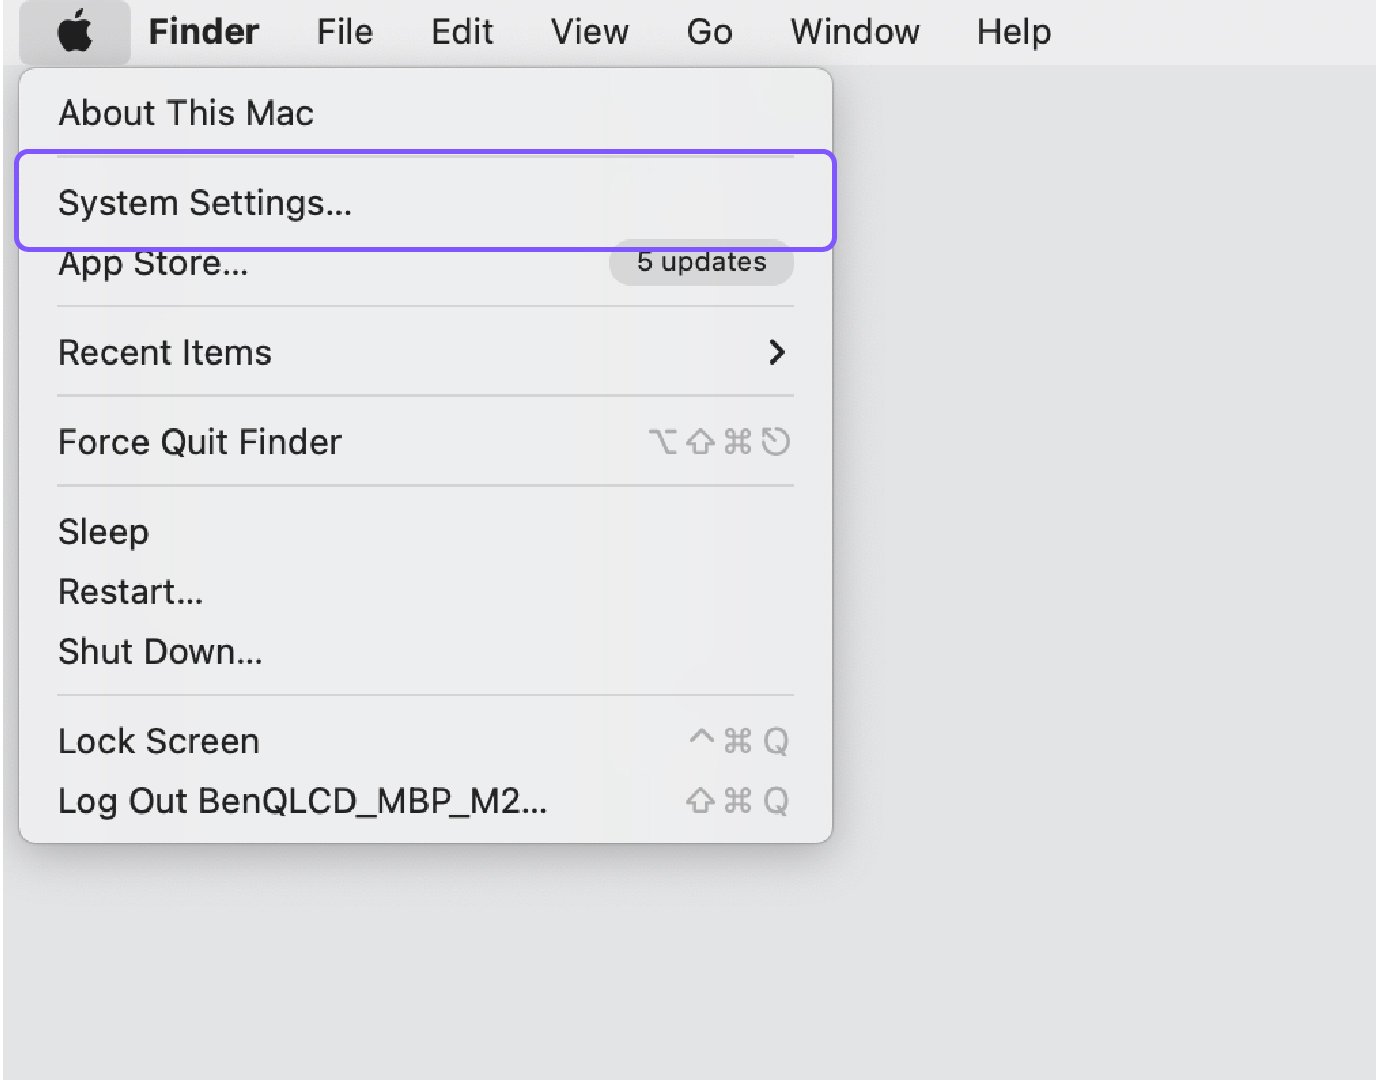
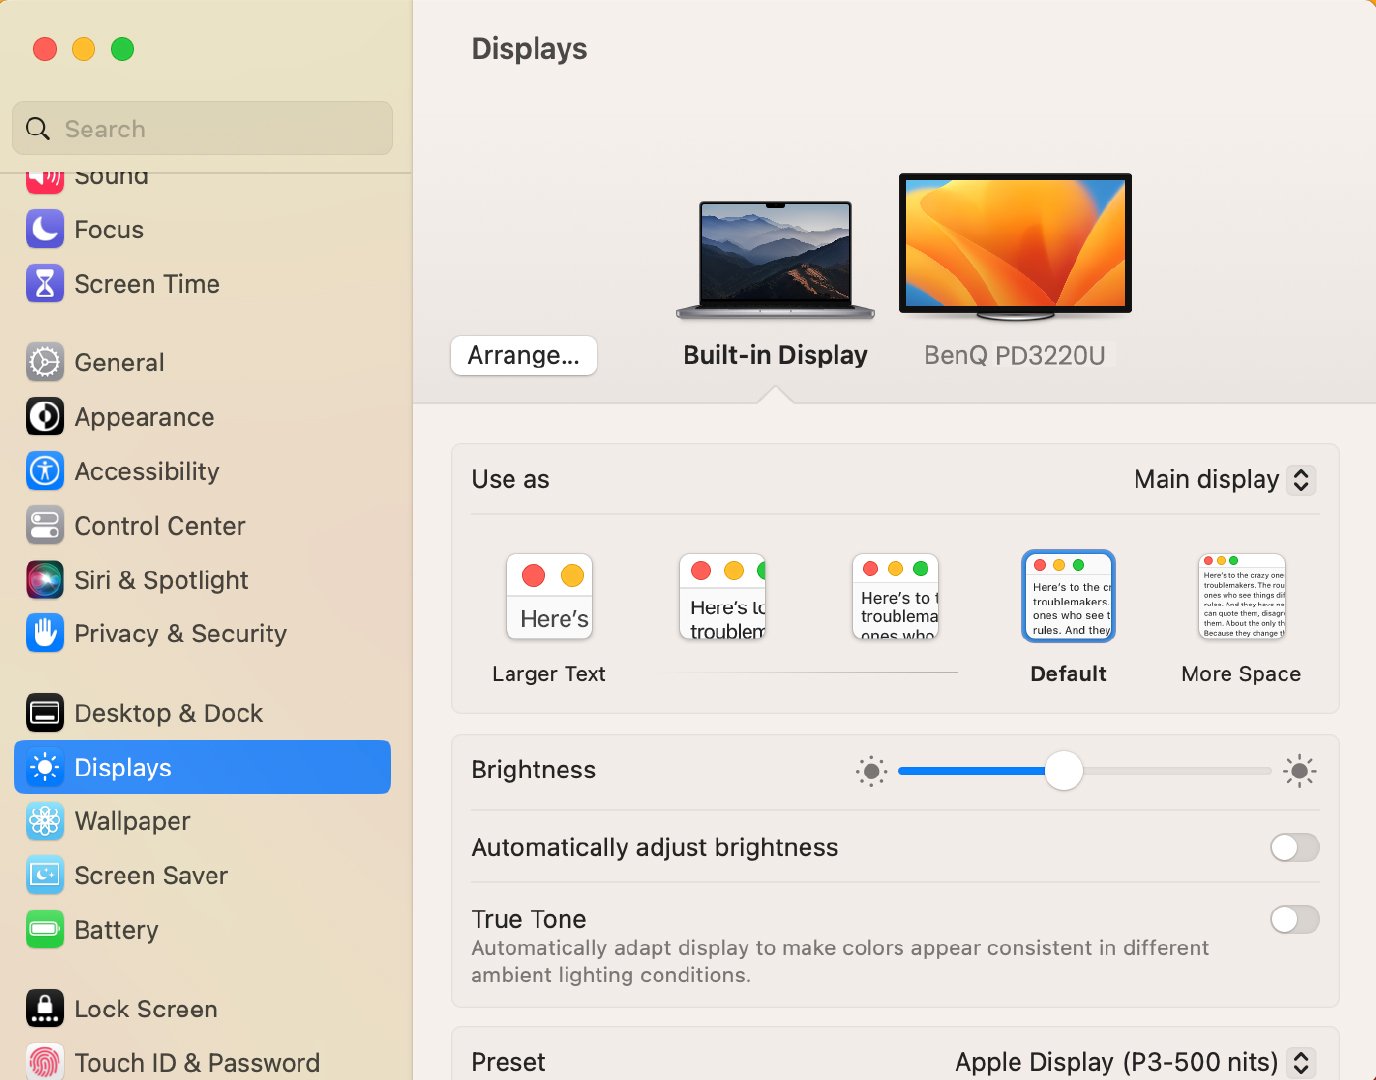
1. Choose Apple menu > System Settings, then click Displays in the sidebar (you may need to scroll down).

Resolution PPI scaling


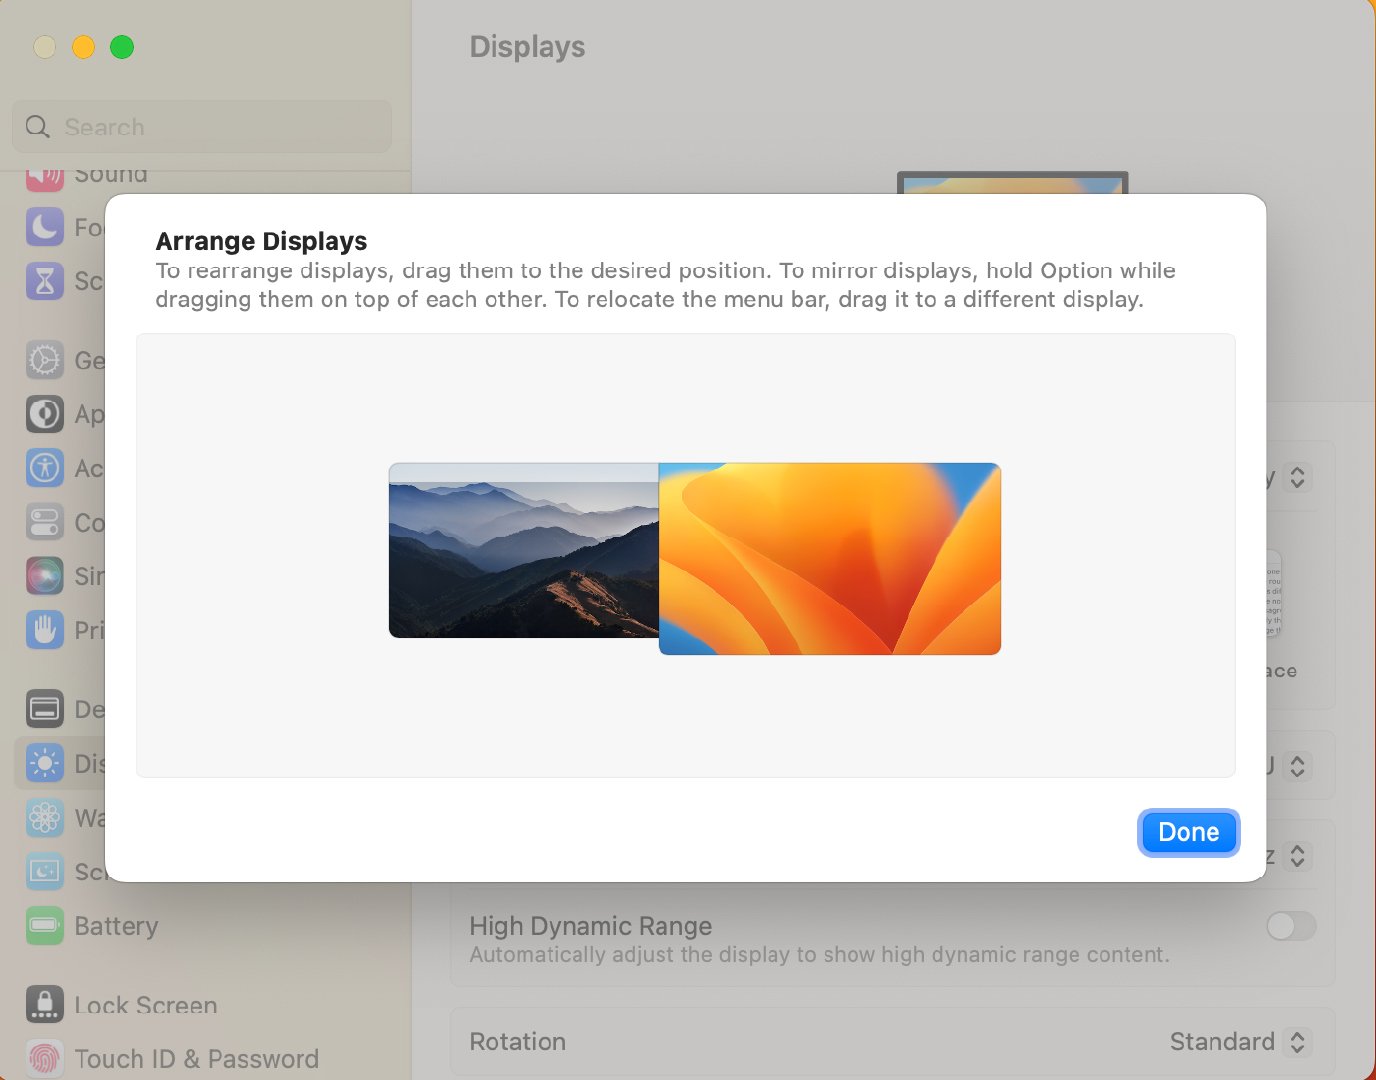
2. Click Arrangement, then hold Option while dragging items on top of each other.

Resolution PPI scaling


Extend: to get a larger workspace, you can set your external display to work side by side with your Mac computer to create one large, continuous desktop.

Resolution PPI scaling

1. Choose Apple menu > System Settings, then click Displays in the sidebar (you may need to scroll down).

Resolution PPI scaling


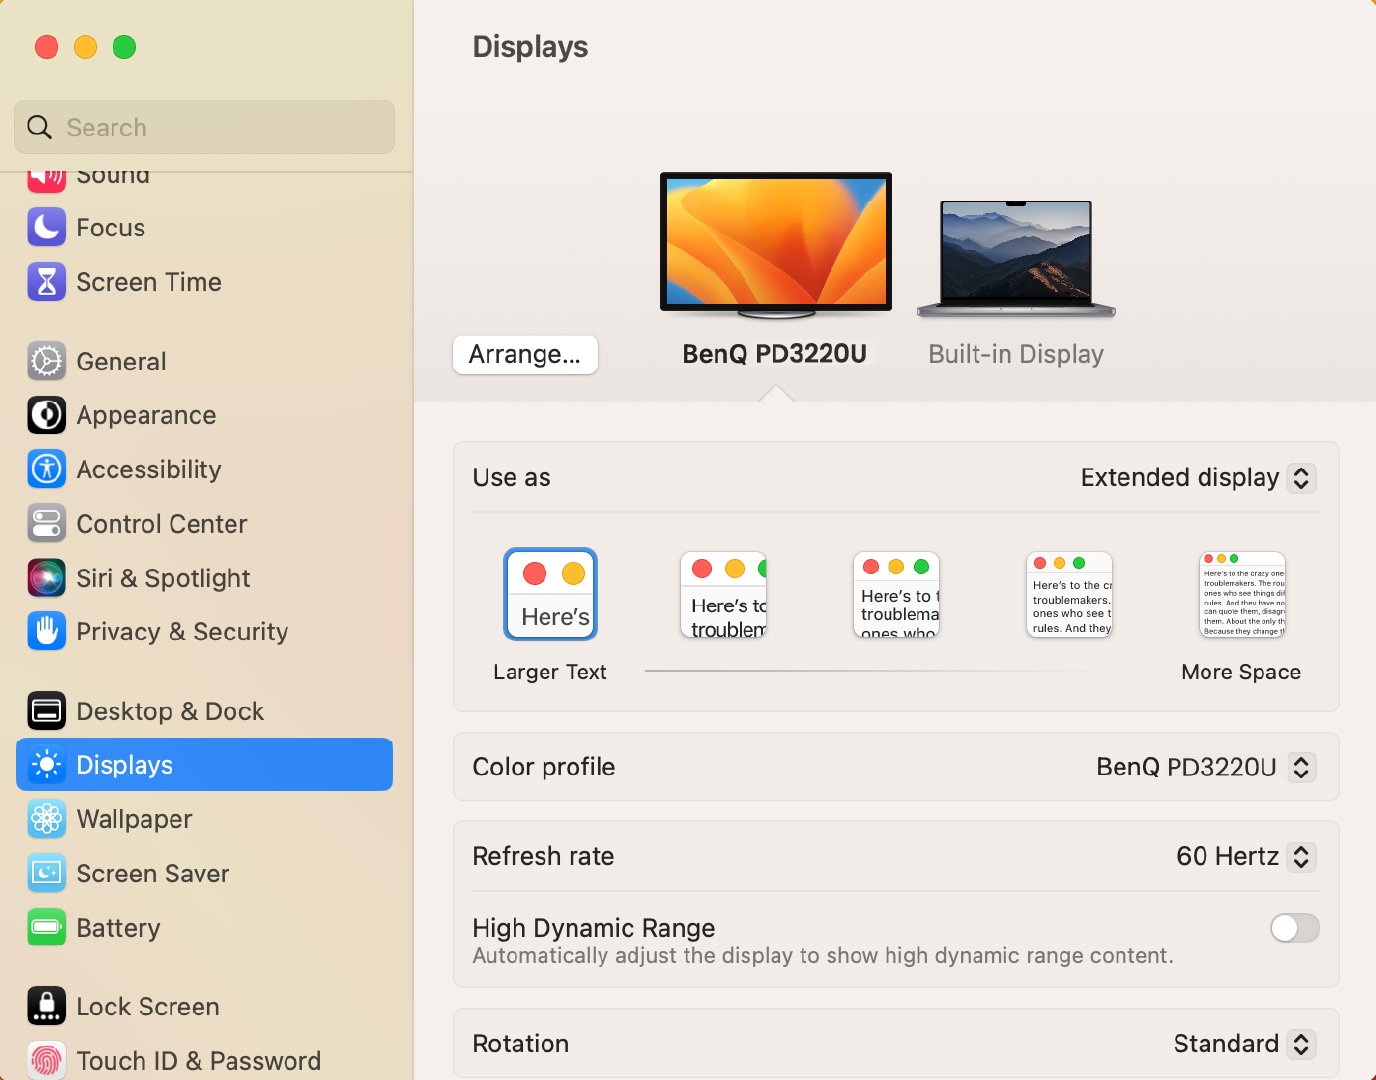
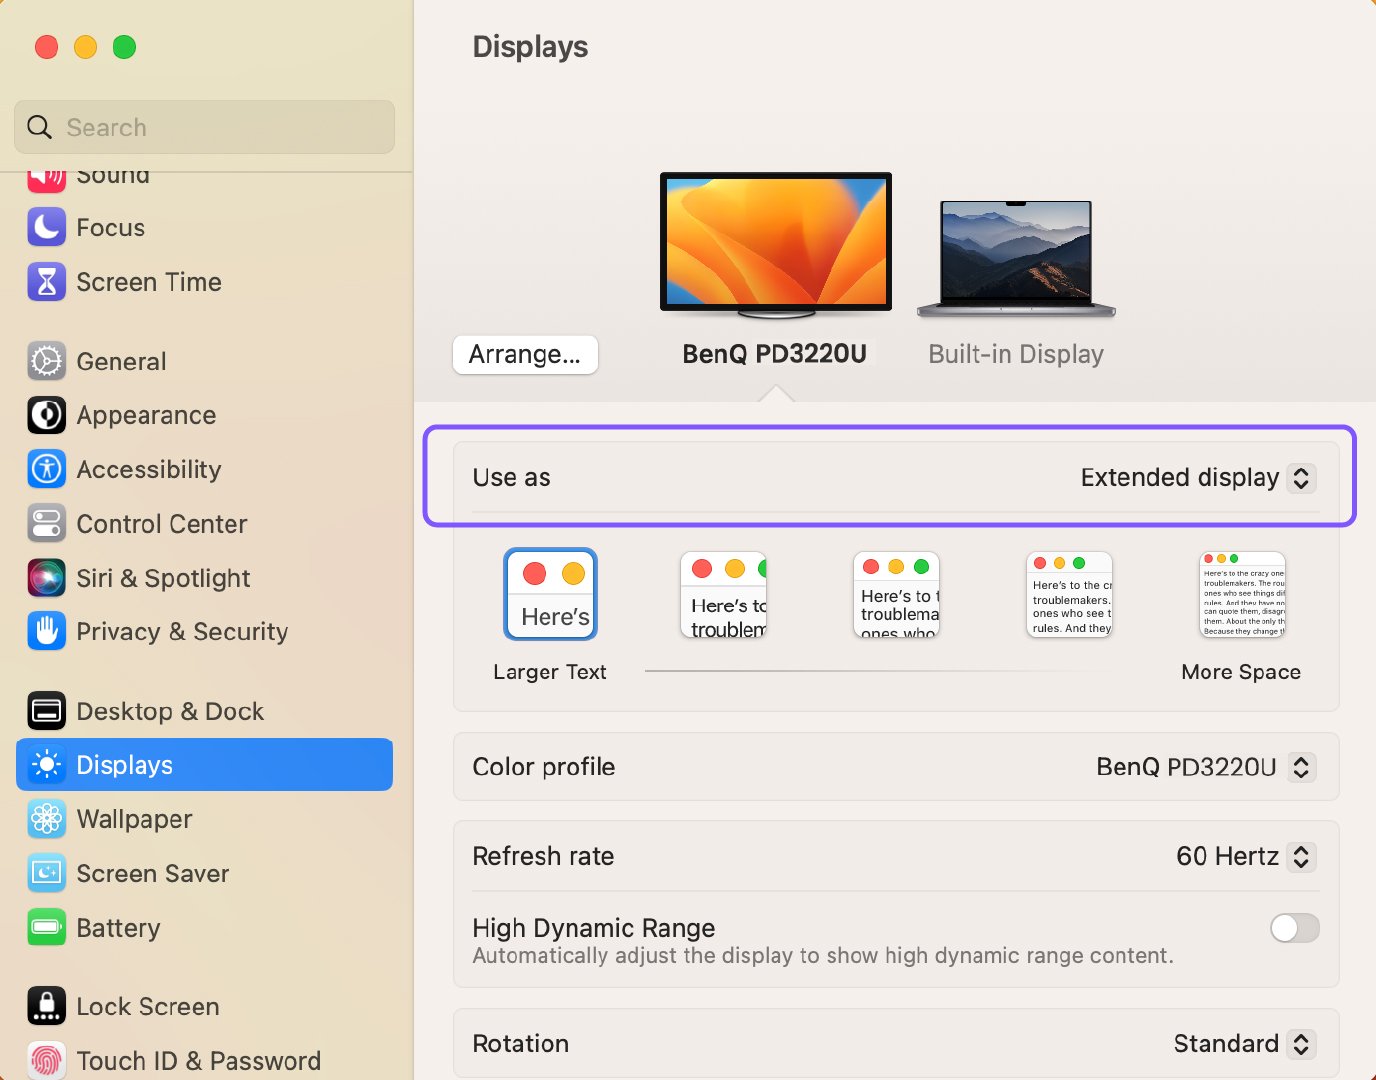
2. Click the name of your display on the right, then click the “Use as” pop-up menu, and choose “Extended display” or Stop Mirroring.

Resolution PPI scaling

Select your preferred user interface and desktop scaling

By default, your Mac uses what the operating system considers the optimal resolution for your display size. The scaling chosen affects the size of text and icons as shown on your screen. In most cases we recommend using the resolution and scaling that Mac OS automatically sets for you. However, you may manually change resolutions to make text and other visual elements increase or decrease in visible size. This may prove beneficial, depending on your preferences.


1. On your Mac, choose Apple menu > System Settings, then click Displays in the sidebar (you may need to scroll down).


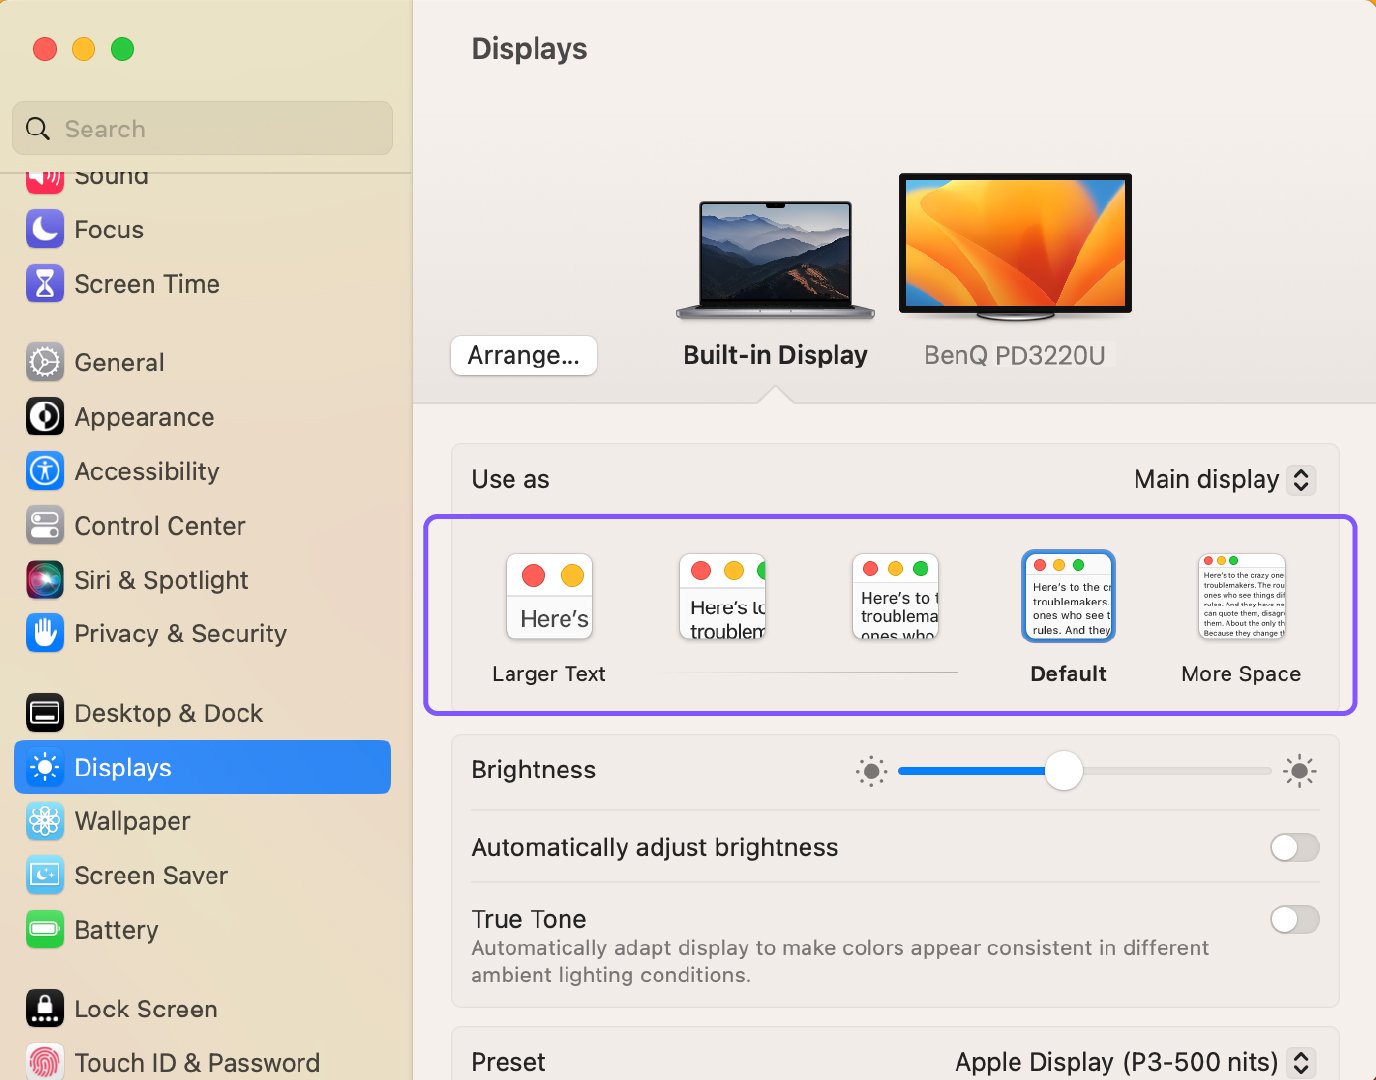
2. Select your desired user interface (UI) size.

Resolution PPI scaling

Can I adjust the color mode on my BenQ monitor?

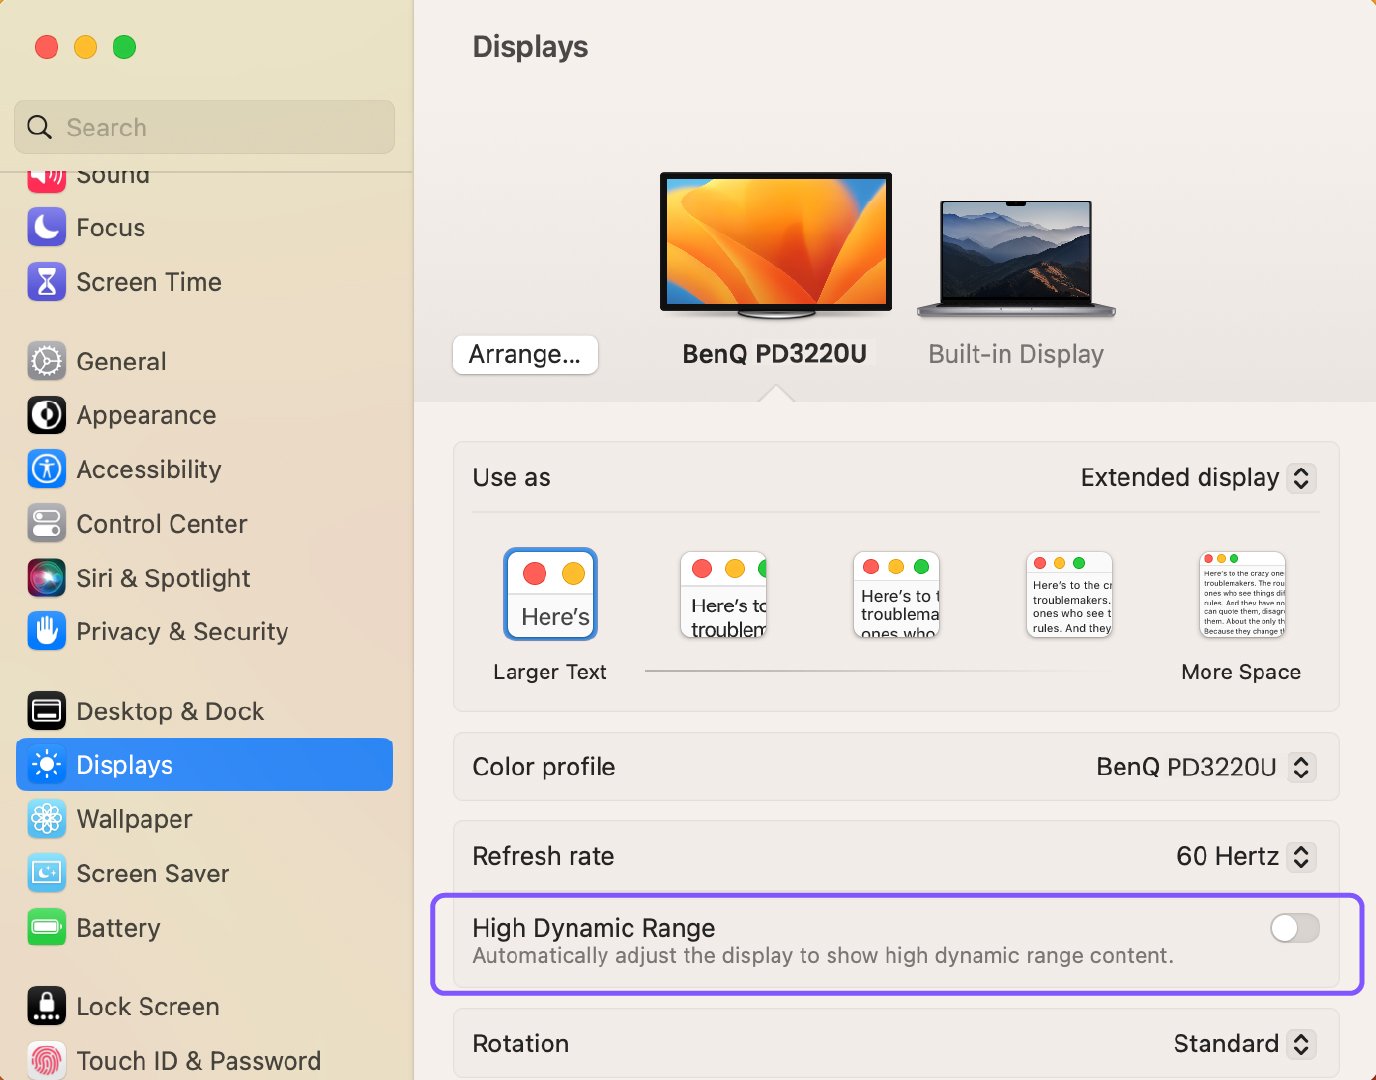
On your Mac device, disable HDR mode first, then adjust the color mode based on your workflow preference.

Resolution PPI scaling

How to adjust M-book mode

Go to Color > Color Mode > M-book

Tuning colors with MacBook and across external monitors

Still finding differences in the colors between your monitors? Or still wondering how to match your external monitor color to your MacBook?

With Display ColorTalk, effortlessly matching the colors across your displays without needing a calibrator has become a breeze.

Follow the steps below:

  1. To bind monitors. Drag and drop windows to decide which monitor is the Benchmark and which is for Fine Tuning.
  2. Before you start adjusting, resize two images to have similar dimensions and start matching colors by adjusting the brightness, color temperature, and color RGB.
  3. Check your adjustment results. If you are not satisfied, click on colors and settings to readjust.
Photographers & Designers
Meet Our Ambassadors
TOP