Price Qty

Exclusive Deal- Get a FREE Yogi Pad with BenQ GW2790QT/GW3290QT Coding Monitor

Shop Now

Exclusive Deal- Get a FREE Yogi Pad with BenQ GW2790QT/GW3290QT Coding Monitor

KVM: One Set to Control Your 2 Systems

BenQ
2024/01/29
With KVM, you improve work efficiency and get rid of extra clutter.

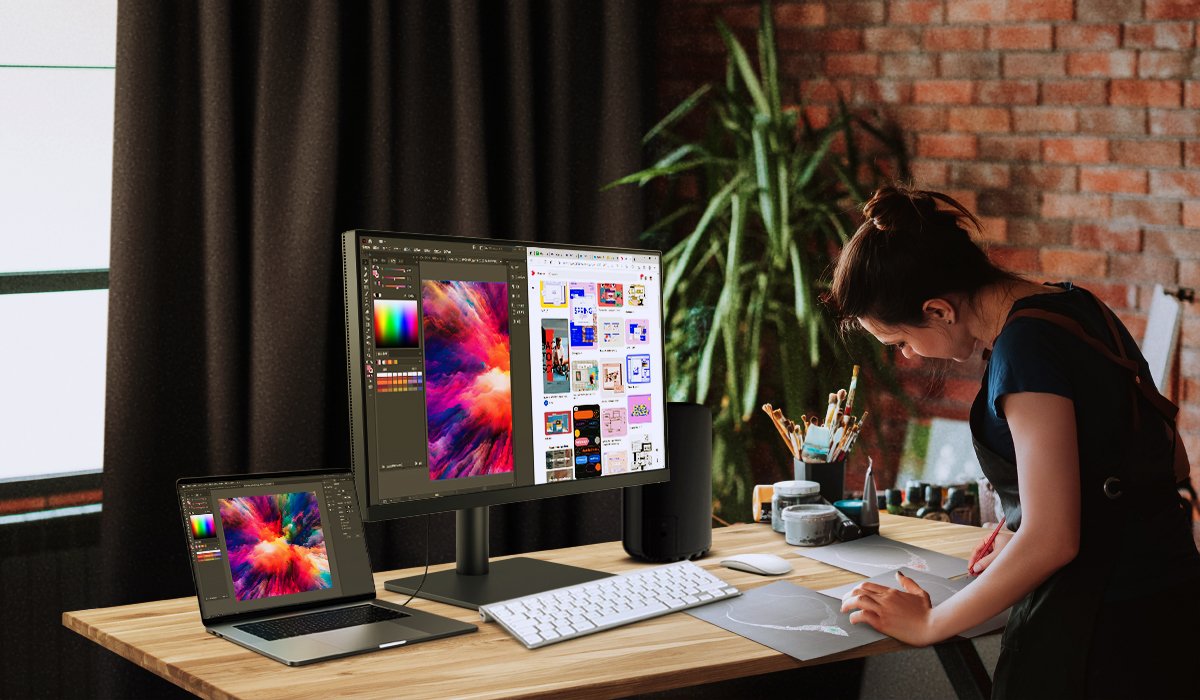
As a designer, you know better than anyone else what two desktops or laptops mean to you, especially when you have a laptop for working at the office and a monitor for work at home, and now need to use both of them from home. In one way, they mean convenience and efficiency for multitasking, while in another, they mean hassle: two sets of keyboards and mice, clutter of cables, and a messy workspace. Two sets of keyboards and mice not only take up a lot of your desk space, sometimes you also need to fiddle with the keyboard and mouse sets to figure out which system you’re working on. And if you need to switch frequently between devices, you can expect that fumbling with and unplugging/re-plugging cables will become part of your work routine. Is there any way to have the best of both worlds, as in work efficiency and being free from these hassles?

Try a KVM switch. 

KVM as the solution


KVM, an abbreviation of keyboard, video, and monitor/mouse, is a tiny hardware module which allows users to view and control two or more PCs using one monitor, one keyboard, and a single mouse. With KVM, you improve work efficiency and get rid of extra clutter. Two kinds of KVM switches can be found on the market: external and built-in. As features and costs of external KVM switches vary differently, a KVM switch built-in to the monitor you use is recommended when it comes to saving you a small fortune and getting a better-arranged work space. Also, with a built-in KVM switch you benefit from multiple I/O ports and a handy workstation in the form of your dedicated monitor, which likely has USB ports you can leverage.

How to Use the KVM switch

To make the most of the KVM switch, let’s look at how to use it.

Before you start, let’s prepare:

Two source systems (desktops and/or laptops)

One keyboard and mouse set

Video cable and upstream USB cable, which is needed for HDMI and DisplayPort but not Thunderbolt 3 or USB-C video

Let’s get started:

1. Turn on your computers and monitor

2. Connect your designer monitor to two source systems using either USB-C/Thunderbolt 3 or the USB upstream cable and an HDMI/DisplayPort cable
*Plug the ports in order following what’s on the instruction label. The cables and ports will go into pairing mode automatically.

3. Open the OSD menu to select “KVM switch”

4. Select the main system


All done. 

Pretty simple to switch between two systems, right? When you get home with your mac, you can connect it to your workstation and get to work right away. Or, when you need to switch the work on the slave system, just use KVM switch in the OSD menu or the hotkey on the HotKey Puck G2. All this is done. There’s no need to designate the device to a port since the system will automatically go into pairing mode. One click will do to switch the input source. Either use KVM switch in the OSD menu or to click one time with a custom key on the HotKey Puck G2.


To conclude, get connected to the KVM switch and make the most of it to boost your work productivity without extra cable clutter.

{{title}}

We will notify you when the product becomes available.

*
Required.
*
Required.
*
Required. Invalid email format.
Required.

We will send you an email once the product becomes available.

Sorry, our store is currently down for maintenance.We should be back shortly. Thank you for your patience!

close-button

Was this article helpful?

Yes No

Subscribe to Our Newsletter

Stay tuned for our product launches, upcoming news and exclusive benefits.

Subscribe
TOP