Projector
Monitor
Lighting
Digital Display
Job References
This site uses cookies. By continuing to browse the site you are agreeing to our use of cookies, you can also manage preferences.
This site uses cookies. By continuing to browse the site you are agreeing to our use of cookies, you can also manage preferences.
Projector
Monitor
Lighting
Digital Display
Job References
Projector
Monitor
Lighting
Digital Display
Job References
Knowledge Center Support
If you are working out of a home office, or want to use your Mac to display content on a TV, you have a couple of options that might make the process easier. While many Macbook users know how to connect to external monitors, connecting to a large screen television can have some challenges due to where the TV is located in the room and cabling issues. There are two options to connect your Mac to a TV – with an HDMI cable or through a wireless screen mirroring system. Here are the steps to connect with a cable.
While nearly every Mac has some sort of HDMI output, they often have different types of connectors. Some have standard HDMI cable sockets, while others have either mini-displayport or USB-C connectors (such as the latest MacBook Pro’s). If your Mac doesn’t have a standard HDMI port, you will need an adapter that converts the signal to your cable. These can be found at nearly any retailer.
Now you will need the right cable to connect your Mac to your TV. In most cases, a standard HDMI cable will be fine – but depending on how far apart your Mac and TV are located, you may need to make sure your cable doesn’t lose the signal between your Mac and the TV. Originally HDMI signals could only go 6-10 feet without degrading, and while the cables have gotten better, you will want to make sure the cable isn’t too long. If you hide the cable in a wall – get a fire-rated cable to comply with most building codes. Also, make sure that the cable is not a tripping hazard, and use gaffer tape to cover the cable in any open areas.
After you get your cable to the TV, make a note as to which HDMI port you are using for your Mac. A label on the back of the remote is helpful to remember which source is connected to your Mac. If you have a Logitech Harmony or other smart remote, you will want to re-label the port as well.
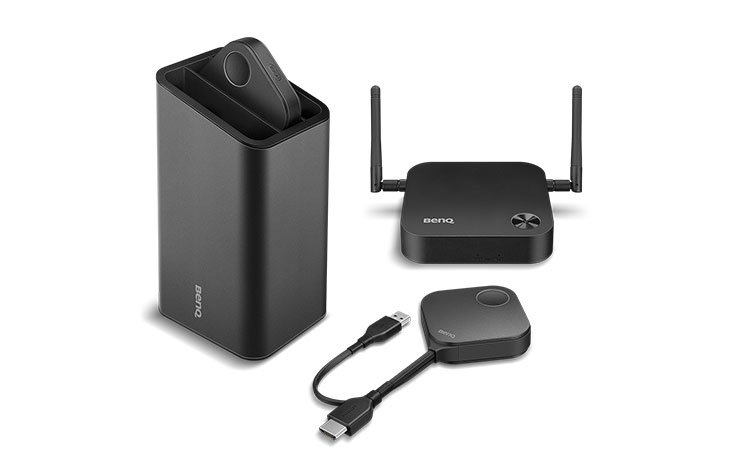
So if you don’t want to have cables run all over your floors to get to your TV, you may be surprised that the cost of a wireless screen mirroring system like InstaShow can be much less expensive (and easier) than buying and installing cables through your walls. Here is a link to one example of how this works (link to article).
While we all understand the use of cables, for home office applications a wireless screen mirroring system such as the InstaShow offers a powerful and elegant alternative to use your TV as a large screen display for your Mac.
With an InstaShow, you plug the receiver into an HDMI port on your TV – then use an HDMI or USB-C transmitter button on your Mac to wirelessly transmit your screen to the TV. The biggest advantage of this in a home office is the ability to switch from one computer or source to another – instantly. For example, maybe you have an iMac on your desk and also use a MacBook. You can connect an InstaShow button to each device, then switch back and forth with a single tap.
If you use your home office for meetings, it gets even better. With a device like the InstaShow S, you can not only have visitors use a button to share your TV screen, they can also connect their iPad or iPhone to your TV using Airplay. Best of all – its all secured, so you don’t have to worry about anyone using it to break into your network – or steal your content. Plus – you can have up to four different devices sharing your TV screen at the same time.
Wireless Presentation System BenQ InstaShow

Thanks for your feedback!